Github Actions are a way of submitting instructions into your repository that will be executed on a particular event happening to your repository - typically a push. Github Actions work by spinning up a temporary Virtual Machine inside a Docker container, executing some tasks on this VM and then letting it cease to exist. Very usefully, this can be used to execute code within the Github Cloud. This approach can be used to alert people that things have happened, to run tests, or to execute actions related to integration with other software. In short, it's a tool that provides us with the power to automate tasks that need to happen when certain events occur. It's worth mentioning that Docker and Containerisation of software have been an invaluable tool in implementing Microservice architectures which have, in many cases, transformed how the backend of cloud computing has worked and sped up some of the biggest sites on the internet (see Netflix as an example here).
A Github action works based on a YAML file which appears in the .github\workflows folder inside the repo. Github picks up on the presence of this file. It then interprets and executes the step-by-step instructions listed within it. Our Github action Yaml file will create a Linux Ubuntu VM, and add certain tools to it such as ssh. It will then use ssh to connect to our VPS and remotely execute a command on the VM. The remotely executed command will, among other things, execute a git pull of the changes that have just occurred when new code was committed and pushed. In this way, the remote cloud VPS will always be kept up to date with the latest code updates, and any changes to our local repo, once pushed will, a few moments later be live on our cloud server.
To secure our server at the beginning, we made it so that the only way to connect to it was to use an SSH key. If GitHub wants to connect to our remote server it will need copies of the keys. These can be stored securely in our GitHub repo in "SECRET" variables. The variables can then be accessed from our YAML script and used to ssh into our remote repo.
Connect to your VPS. At the prompt type login and use your credentials to connect to your application account - in my case tennisclub. Then cd into the .ssh folder.
To get the private key type
cat id_rsa
Make sure the screen is maximised and select, and copy the text of the private key. If you want you can store it temporarily in notepad. Next open GitHub and click on Settings - then down on the left select Secrets and Variables - Actions - New Repository Secret .... as follows

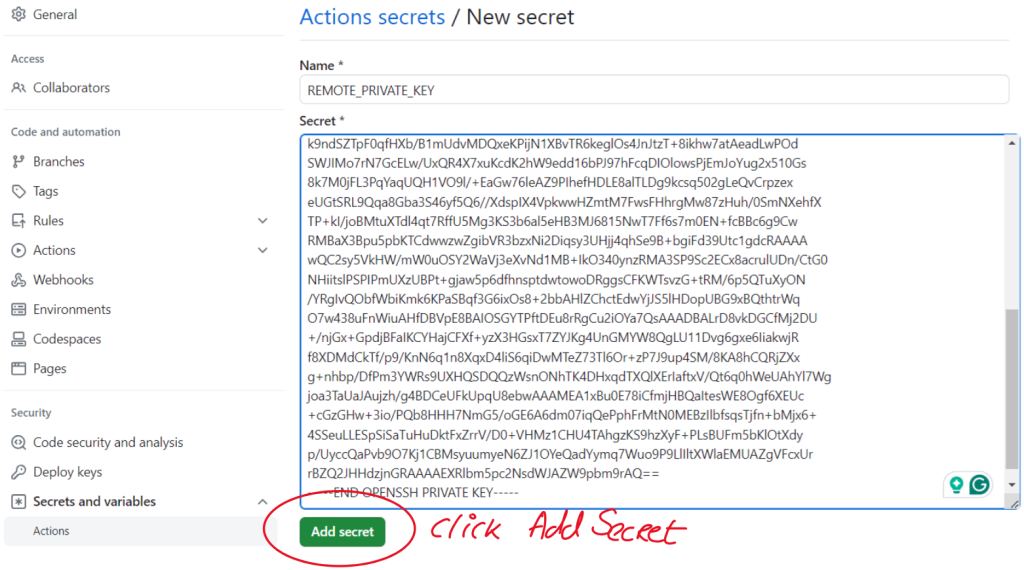
Next create a new secret called REMOTE_PRIVATE_KEY and paste in the text of your private key as follows
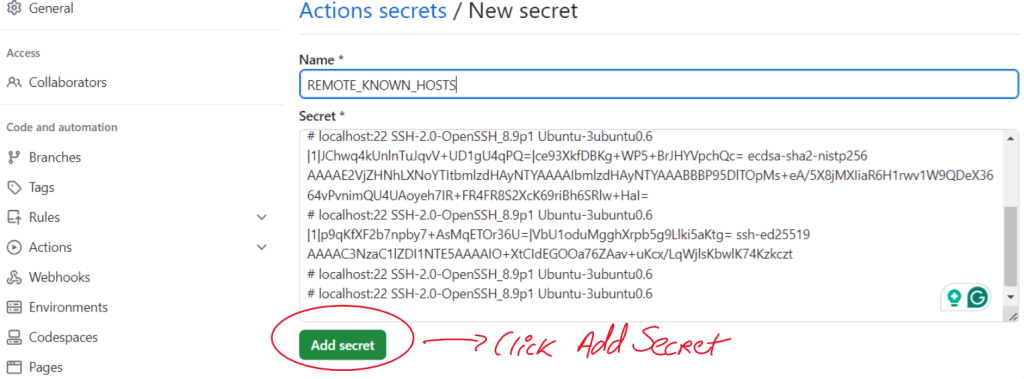
Next we need to add the remote known_hosts file. To generate this, into the command line on your VPS type the command below and copy the data that is produced from the screen.
ssh-keyscan -H localhost
Add another secret, call this one REMOTE_KNOWN_HOSTS and paste the data that was generated as follows.
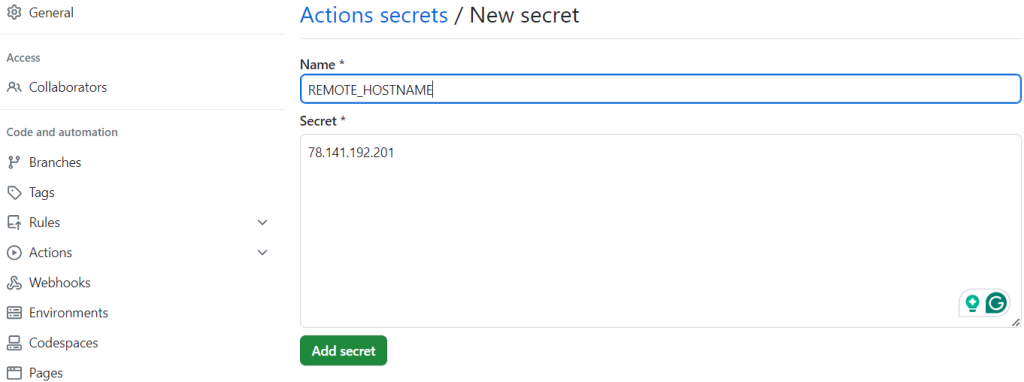
Next, we need to add the REMOTE_HOSTNAME click "New Repository Secret" and add your Host IP Address as follows
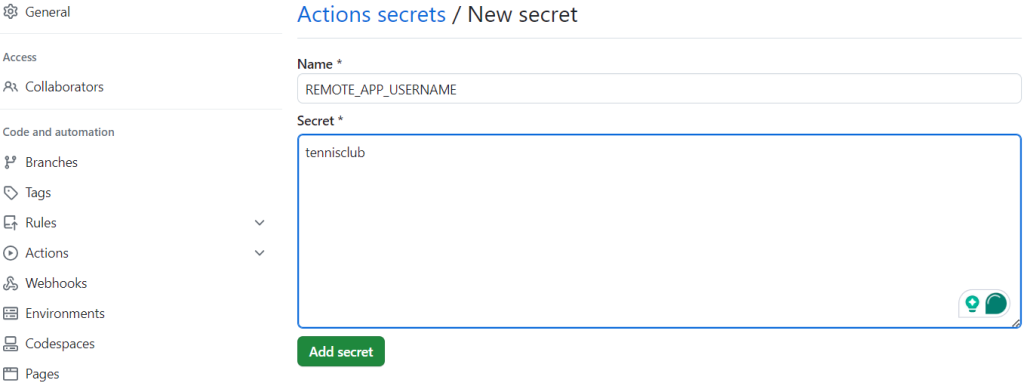
Finally, we need to add the REMOTE_APP_USERNAME - this is just the account name we created to host the app - in my case tennisclub - remember it's case sensitive.
You should now have a list of Secrets as follows

We are now ready to add the Github Actions YAML file to the repo. To do this, go to your Windows CLI and cd into your application folder under Laravel. We need to create two new folders, the first called .github under your application folder and another one under that called workflows. To create these folders type the following command in your Windows CLI inside your application folder.
md .github && md .github\workflows
Next, save the following code into a file called deploy.yml into the workflows folder you have just created. So in my case, the file will be c:\laravel\tennisclub\.github\workflows\deploy.yml
name: GitHub Actions Deploy
run-name: ${{ github.actor }} has pushed and the repo will be deployed to the server
on: [push]
jobs:
  deploy:
    name: "Deploy"
    runs-on: ubuntu-latest
    steps:
      - name: Configure SSH
        run: |
          mkdir -p ~/.ssh/
          ssh-keyscan -t ed25519 $REMOTE_HOSTNAME >> ~/.ssh/known_hosts
          chmod 664 ~/.ssh/known_hosts
          echo "$REMOTE_PRIVATE_KEY" > ~/.ssh/id_rsa
          chmod 600 ~/.ssh/id_rsa
          cat >>~/.ssh/config <<END
          Host $REMOTE_HOSTNAME
            PubKeyAuthentication yes
            IdentitiesOnly yes
            HostName $REMOTE_HOSTNAME
            User $REMOTE_APP_USERNAME
            IdentityFile ~/.ssh/id_rsa
            StrictHostKeyChecking no
          END
        env:
          REMOTE_APP_USERNAME: ${{ secrets.REMOTE_APP_USERNAME }}
          REMOTE_PRIVATE_KEY: ${{ secrets.REMOTE_PRIVATE_KEY }}
          REMOTE_HOSTNAME: ${{ secrets.REMOTE_HOSTNAME }}
      - name: cd into app folder and run deploy
        run: ssh -n -f ${{ secrets.REMOTE_HOSTNAME }} 'cd `ls` && php vendor/bin/envoy run deploy >> ../.deploy.log'
As you can see, the file has many "double mustache" variables referenced within it. These variables are pulling in the GitHub secrets we set up in the previous steps. This approach gives us security in that all of our "secret" files are stored securely and then referenced in the script. It would not be good practice to put those secret files or passwords into the file. Now to add this workflow to your repo you just need to add it and commit it so type
git add . && git commit -am "added deploy workflow"
Into your Windows CLI inside your application folder.
If this is your first exposure to Docker containers, what happens next will astound and amaze you. If you go up on GitHub and look under the actions tab, you will be able to see the workflow executing. First, a new VM will be spun up. Then, the necessary software will be installed on it. Then the commands in your workflow will be executed one at a time. If all goes well the deploy script will get a green tick, if there is an error it will get a red x. If you get a green tick it means you can now execute commands remotely on your server directly after you have pushed. The action is only designed to remote-execute one command in the Linux shell but that command is a call to the PHP interpreter to execute all the commands contained in Envoy.blade.php. This set represents all the commands necessary to synch up your live production installation with your local developer setup.