As we're approaching deploying an application on a Minimum Viable Product basis I'm going to keep the installations to the quickest and simplest install of each version of the product. Once you start becoming comfortable with the LAMP stack it is advised to return and use the secure installation version of the mysq-server install. In the meantime, to stick with the basics type:
sudo apt install mysql-server
To start the service type
sudo service mysql start
Now to login to mysql as root type
mysql -u root
You will be greeted with the mysql> command prompt. From here you can type sql commands.
To set up a new user - at the mysql> command prompt type
CREATE USER 'dbadmin'@'localhost' IDENTIFIED BY '_tc123!_';
Now we will try and give this user
GRANT ALL PRIVILEGES ON *.* TO 'dbadmin'@'localhost' WITH GRANT OPTION;
To grant the user you have just created privileges on your new database type
FLUSH PRIVILEGES;
This will go ahead and make those privileges available to that user. We should be aware that what we have done here is to effectively create another 'root' super user. This could be dangerous, as our server is open to the web, if someone were to crack the password they would have the ability to cause chaos. Once we have used this temporary admin user to create our tennisclub application db user it might be an idea to delete the dbadmin user.
To exit the mysql command prompt type 'quit'. The 'identified by' clause indicates the password for the account.
Next, we will install phpmyadmin. Many readers will be familiar with this sql client which comes bundled with xampp. Its a web-based sql client which allows for quick and easy access to MySQL server installations. To install phpmyadmin - from the command shell prompt type
sudo apt install phpmyadmin
There are some settings required to enable the site these are stored in /etc/phpmyadmin/apache.conf to copy these to the apache2 webserver sites configuration folder type
cp /etc/phpmyadmin/apache.conf /etc/apache2/sites-available/phpmyadmin.conf
now to enable the phpmyadmin website type
a2ensite phpmyadmin
You will get the following response

As per the prompt, type
systemctl reload apache2
To verify that phpmyadmin is running correctly visit http://your_server_ip_address/phpmyadmin - you should see a page like this.
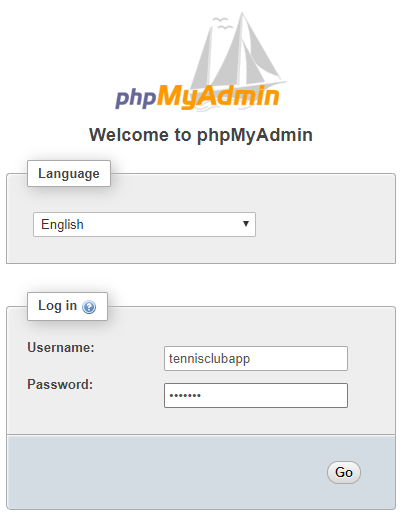
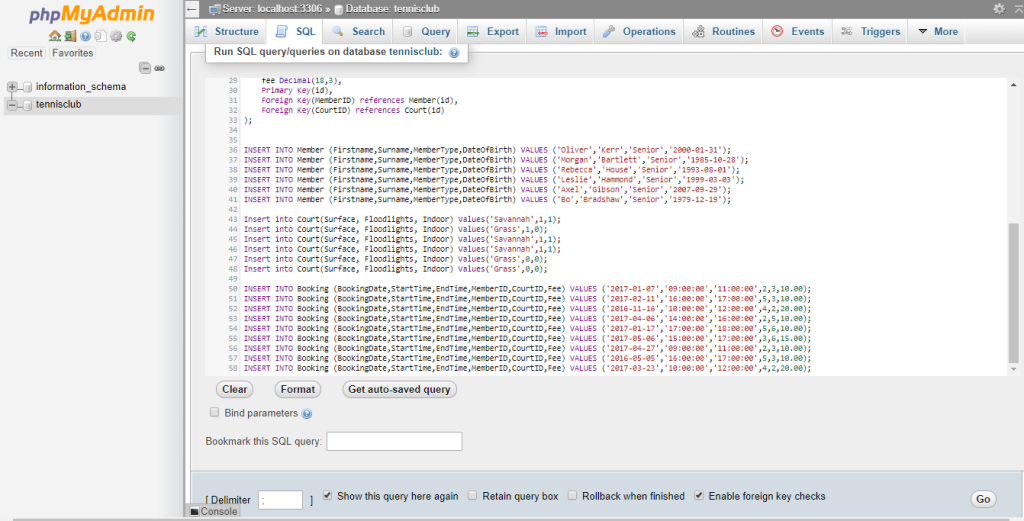
Use the username and password you create above to login. If successful you will see the myphpadmin console which looks like this.
Before we move on this is a good opportunity to go ahead and create the tennisclub database fromo the script we've been using all along. Some readers may have created their own databases. If you don't have a script you can use MySQL export functionality which will provide you with a database create sql script. For now you can use the script below. In previous versions of my application I used database scripts with varying upper case and lower case characters. This is fine on Windows but Linux is case sensititve, both for the database tables themselves but also with the scaffolded code that was generated from those database tables. I found that it is easier to stick to lower-case only database scripts.
Readers of the blog who may have already generated the tennisclub application are advised to re-scaffold controllers and models. This can be done by deleting all the models from the models folder and all the controllers from the controllers folder and then simply re-running the scaffold command.
This script is the same as the one we've been using all along apart from the fact that it is now all lowercase (Jun 2019). Also, the first line which creates the database removed as we don't have privileges to do this.
drop database if exists tennisclub;
 create database tennisclub;
 use tennisclub;
 create table member(
     id integer auto_increment,
     firstname varchar(30),
     surname varchar(30),
     membertype varchar(6),
     dateofbirth date,
     created_at datetime,
     updated_at datetime,
     deleted_at datetime,
     primary key(id)
 );
 create table court
 (
     id integer auto_increment,
     surface varchar(30),
     floodlights boolean,
     indoor boolean,
     created_at datetime,
     updated_at datetime,
     deleted_at datetime,
     primary key(id)
 );
 create table booking
 (
     id integer auto_increment,
     bookingdate date,
     starttime time,
     endtime time,
     memberid integer,
     courtid integer,
     fee decimal(18,3),
     created_at datetime,
     updated_at datetime,
     deleted_at datetime,
     primary key(id),
     foreign key(memberid) references member(id),
     foreign key(courtid) references court(id)
 );
 insert into member (firstname,surname,membertype,dateofbirth) values ('oliver','kerr','senior','2000-01-31');
 insert into member (firstname,surname,membertype,dateofbirth) values ('morgan','bartlett','senior','1985-10-28');
 insert into member (firstname,surname,membertype,dateofbirth) values ('rebecca','house','senior','1993-08-01');
 insert into member (firstname,surname,membertype,dateofbirth) values ('leslie','hammond','senior','1999-03-03');
 insert into member (firstname,surname,membertype,dateofbirth) values ('axel','gibson','senior','2007-09-29');
 insert into member (firstname,surname,membertype,dateofbirth) values ('bo','bradshaw','senior','1979-12-19');
 insert into court(surface, floodlights, indoor) values('savannah',1,1);
 insert into court(surface, floodlights, indoor) values('grass',1,0);
 insert into court(surface, floodlights, indoor) values('savannah',1,1);
 insert into court(surface, floodlights, indoor) values('savannah',1,1);
 insert into court(surface, floodlights, indoor) values('grass',0,0);
 insert into court(surface, floodlights, indoor) values('grass',0,0);
 insert into booking (bookingdate,starttime,endtime,memberid,courtid,fee) values ('2017-01-07','09:00:00','11:00:00',2,3,10.00);
 insert into booking (bookingdate,starttime,endtime,memberid,courtid,fee) values ('2017-02-11','16:00:00','17:00:00',5,3,10.00);
 insert into booking (bookingdate,starttime,endtime,memberid,courtid,fee) values ('2016-11-16','10:00:00','12:00:00',4,2,20.00);
 insert into booking (bookingdate,starttime,endtime,memberid,courtid,fee) values ('2017-04-06','14:00:00','16:00:00',2,5,10.00);
 insert into booking (bookingdate,starttime,endtime,memberid,courtid,fee) values ('2017-01-17','17:00:00','18:00:00',5,6,10.00);
 insert into booking (bookingdate,starttime,endtime,memberid,courtid,fee) values ('2017-05-06','15:00:00','17:00:00',3,6,15.00);
 insert into booking (bookingdate,starttime,endtime,memberid,courtid,fee) values ('2017-04-27','09:00:00','11:00:00',2,3,10.00);
 insert into booking (bookingdate,starttime,endtime,memberid,courtid,fee) values ('2016-05-05','16:00:00','17:00:00',5,3,10.00);
 insert into booking (bookingdate,starttime,endtime,memberid,courtid,fee) values ('2017-03-23','10:00:00','12:00:00',4,2,20.00);
Paste this into the query window and press 'Go' as follows.
You have now successfully installed a LAMP stack - Linux, Apache, MySQL and PHP. You are well on the way to successfully deploying your first PhalconPHP application. Before we move on from the Database we need to set up an identical user and password on our local database and set our phalcon application to use these credentials. This will mean a that our local and remote systems will be basically identical and will allow for seamless updates.
Frist create this user on the remote server using phpMyAdmin.
create user 'tennisclubapp'@'localhost' identified by '_tc_123_';
Grant all privileges to the tennisclub database to that user
GRANT ALL PRIVILEGES ON tennisclub.* TO 'tennisclubapp'@'localhost';
Then exectue the exact same two commands on your local database using Heidi or mysql workbench. Make sure you use the same username and password as you did earlier.

Now apply these credentials to your local .env file in Laravel. Your local and remote systems now have identical databases and use identical credentials. When you upload your code it should work identically on both local and remote systems without any modifications. This is important to the streamlined deployment process which we are creating.
One important bit of housekeeping we must do given the approach we are taking is to add the .env file to the repo. By default, for Laravel projects, the .env file is omitted from the repo as typically the .env file's only job is to describe everything that is different about the environment. The Linux environment is very different from a Windows environment and so we would normally expect many of these environment variables to be different. In a typical real-world situation, we are likely to have multiple environments including local, production and test. In this super simplified starter deployment example we will imagine the two environments are identical. In this way we can avoid having to login to the Linux server and change settings. To do this will add the .env file into the github repo and start tracking it. This will pull the db credentials onto the server. We have ensured there is an identical username and password working on the server so this will work well even if it is a bit of a hack. To stop ignoring the .env file, open the .gitignore file on your local machine and remove the line for .env
Now start tracking the file on git by typing the following command into your Windows CLI
git add .env
Commit and push this change as follows
git commit -am "started tracking .env" && git push origin main
Your local and remote systems now have identical databases and use identical credentials. When you upload your code it should work identically on both local and remote systems without any modifications. This is important to the streamlined deployment process which we are creating.