Readers who have been working with PHP for any reasonable period of time will, no doubt, have already managed to set up a hosted server in the cloud using one of the many thousands of hosting providers. Many of these offer free hosting if you're happy for your website to have ads. They can be a bit un-reliable but when you're just getting started they're ideal as you don't really want to part with credit card numbers while you're just learning or playing around.
When you move into the world of Linux hosting it's almost impossible to find free hosting. I have seen very low spec VPS for as little as $2 per month but $5 is a typical entry-level cost. Many of the big hosting providers such as Amazon Web Services and Microsoft Azure have free offers for students. Most of these offers are based around a credit based system. So, for example, AWS currently offers $75 worth of free hosting. Microsoft has something similar. The difficulty here is that setting up a simple low-spec VM that might only use $5-$10 per month of credit is made quite difficult. There's a dizzying array of options most of which are way more high-spec then would be required by someone starting out. It's very easy to set up a VM and burn through your credit allocation in six weeks only to find that if you want to keep your application alive you have to pay a fairly steep bill.
Vultr's entry-level VPS currently offers 1GB of RAM and 25GB of storage for $5 per month. Once you get signed up and logged in - click on the Deploy button in the top right hand corner

You choose the setup/options for your Virtual Private Server by scrolling down and completing each of the panels on the next screen. Scroll down and choose "Cloud Compute" on the next panel.
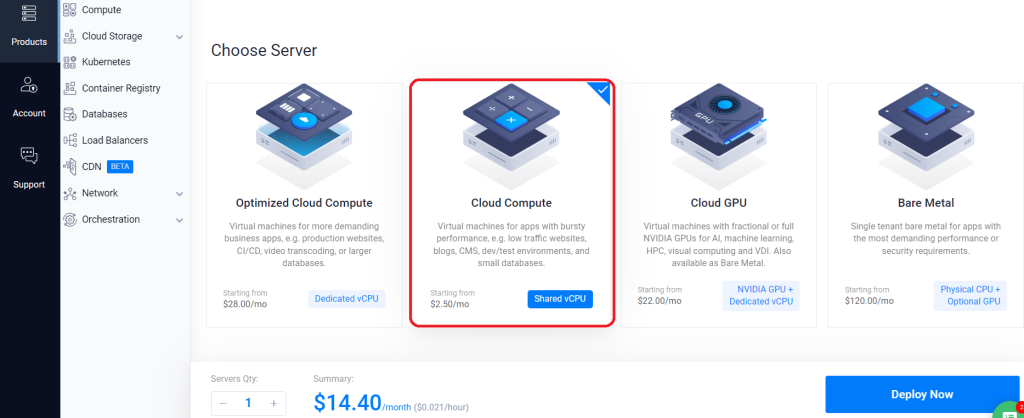
Don't click "Deploy Now" yet. Instead, keep scrolling down in order to choose settings that will give you a more affordable Virtual Machine. Next, choose "Regular Performance".
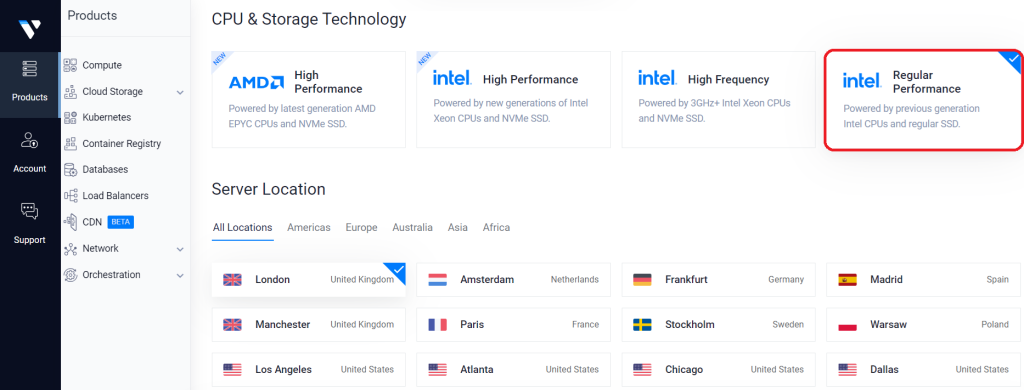
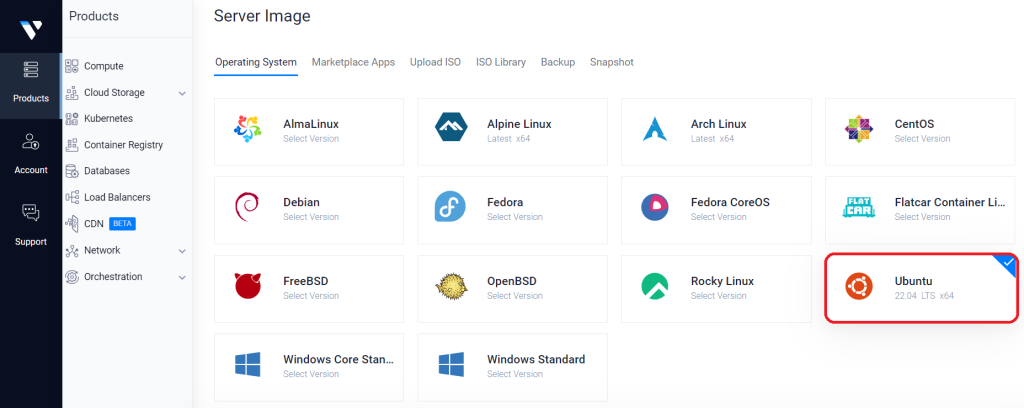
You can locate the server wherever you like. The data you store there will be subject to local regulations. I chose London. Choose Ubuntu 22.04. This is a good stable version at the time of writing. If you choose the latest version you may find that it's not possible to get the particular version of PHP you need for that version. For example its very difficult to get the PHP 8.1 on Ubuntu 23.
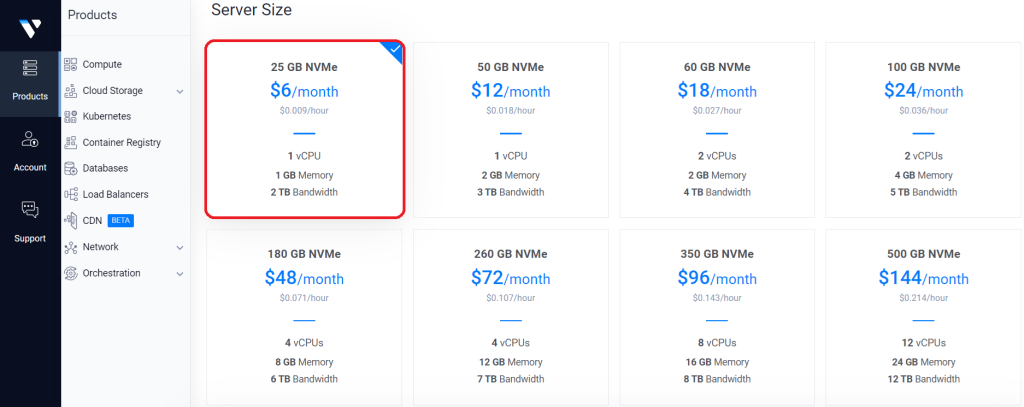
Next, choose the server size. 1GB of RAM with 2TB of bandwidth be fine for now. The cheapest option - just to get started. It may work out at $5 per month based on the "regular perfomance" option. Less if it doesn't get much use.
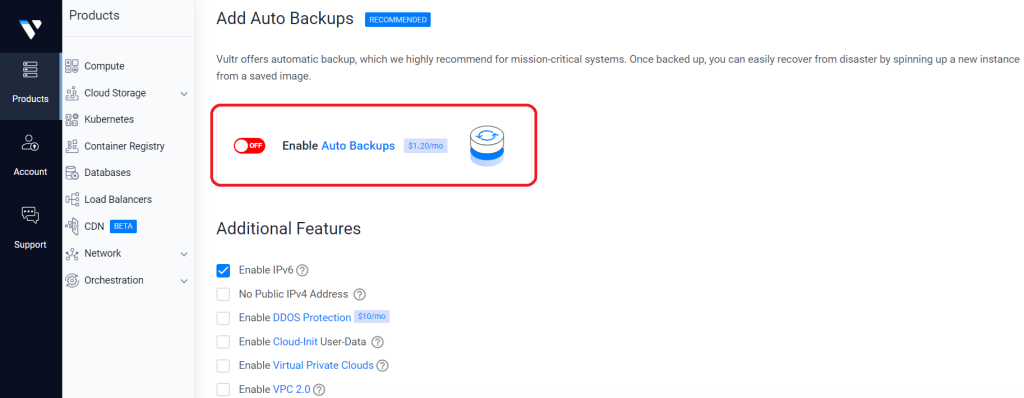
The automatic backups can be a very useful feature, but it costs extra so you can leave it off for now
Adding SSH keys up front can be a good idea but we're going to add them in manually in the next step. This will give us a better opportunity to understand how they work. Just give your server a name. Don't worry too much about this. It's not your domain name.
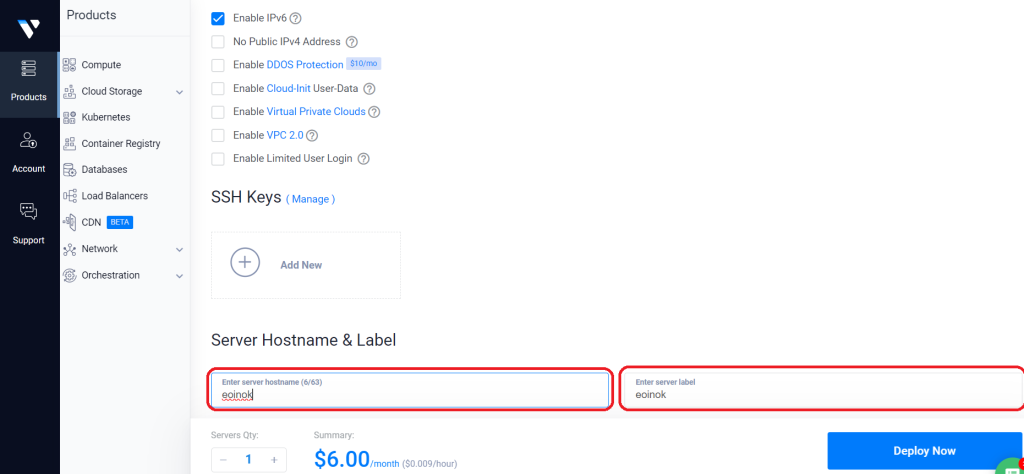
After you've clicked "Deploy Now" you will see your sever being set up.
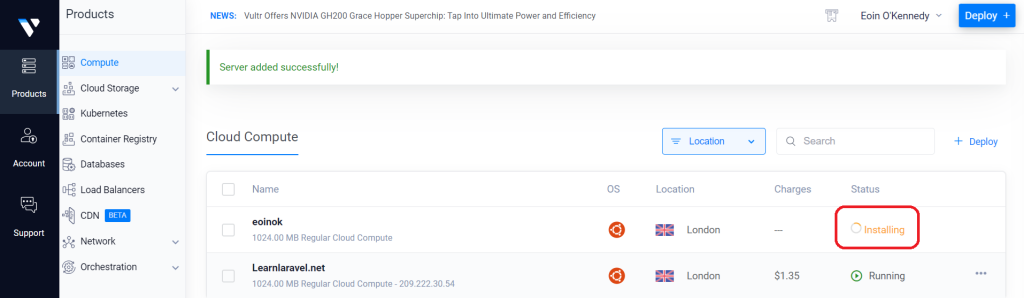
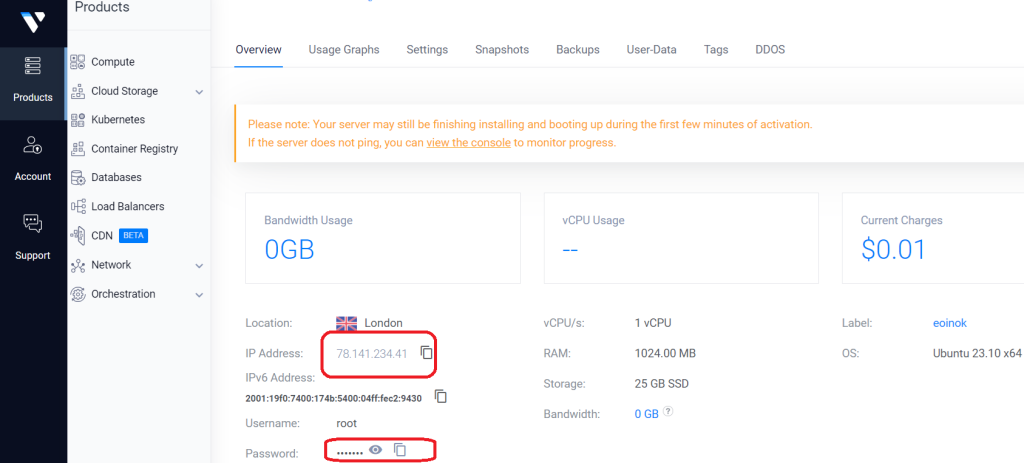
Once it's complete click here and you can get the details you need to connect to the server and set it up.
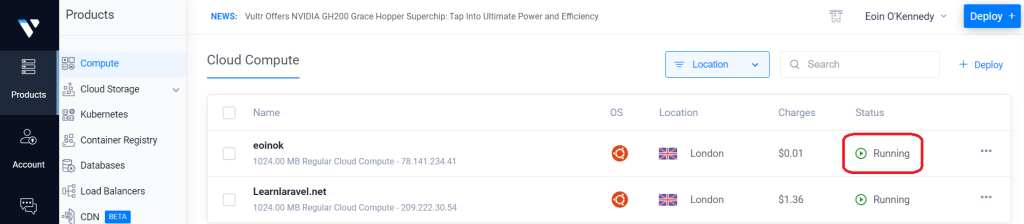
When you click through on the "Running" link you will be able to see the IP address, Username and Password which you can use to access your server.
In the next post, we will use Putty to log on to the server.